Installing Plates Into Your Testudo Gen 2.0 Carrier
- Apr 8, 2021
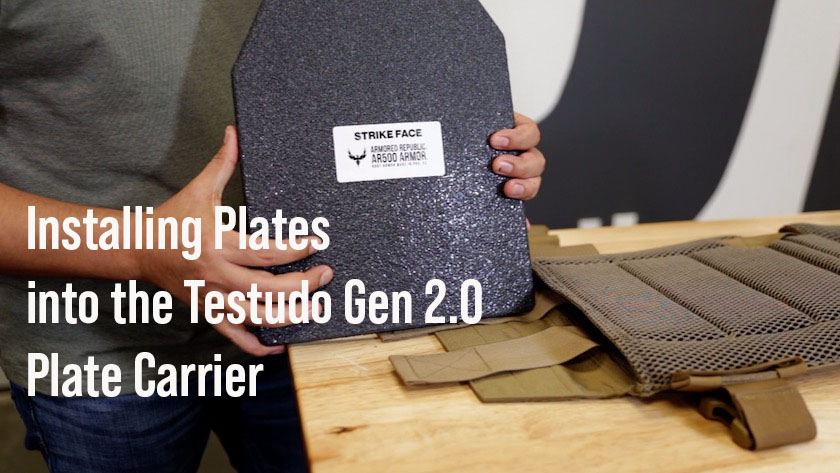
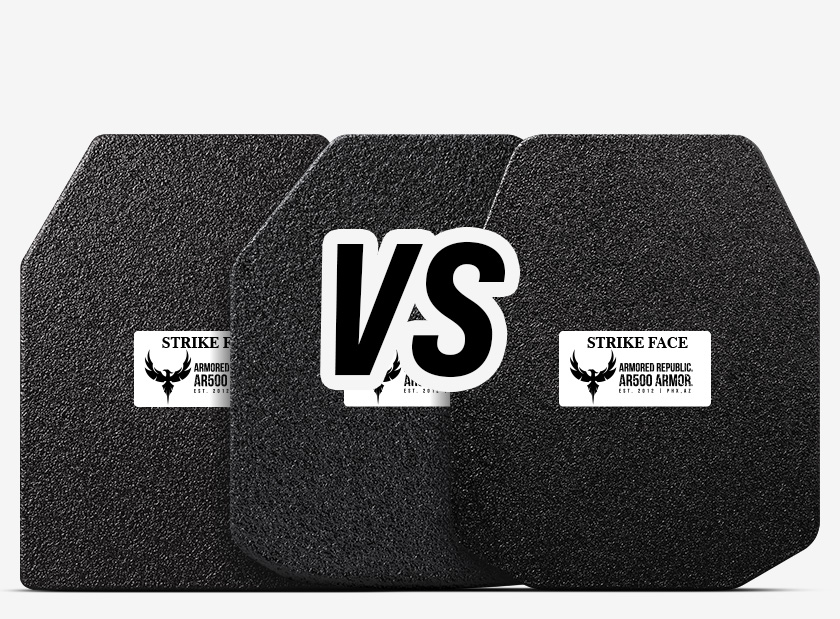
While most of AR500 Armor’s plate carriers are straightforward in how you install the plates, our flagship Testudo Gen 2.0 plate carrier requires a little additional attention to ensure the plates are installed correctly.
When installing armor into any carrier, there are two things you need to be sure of:
- The plate STRIKE FACE is facing outward
- The plate is secured in the carrier’s pocket when everything is said and done
Since the Testudo can accommodate both 10x12 and 11x14 plates, we’ve added an internal support system to securely hold the 10x12 plates in the carrier.
Installing the plates into the Testudo can be done by following these simple steps.
Installing 10x12 plates
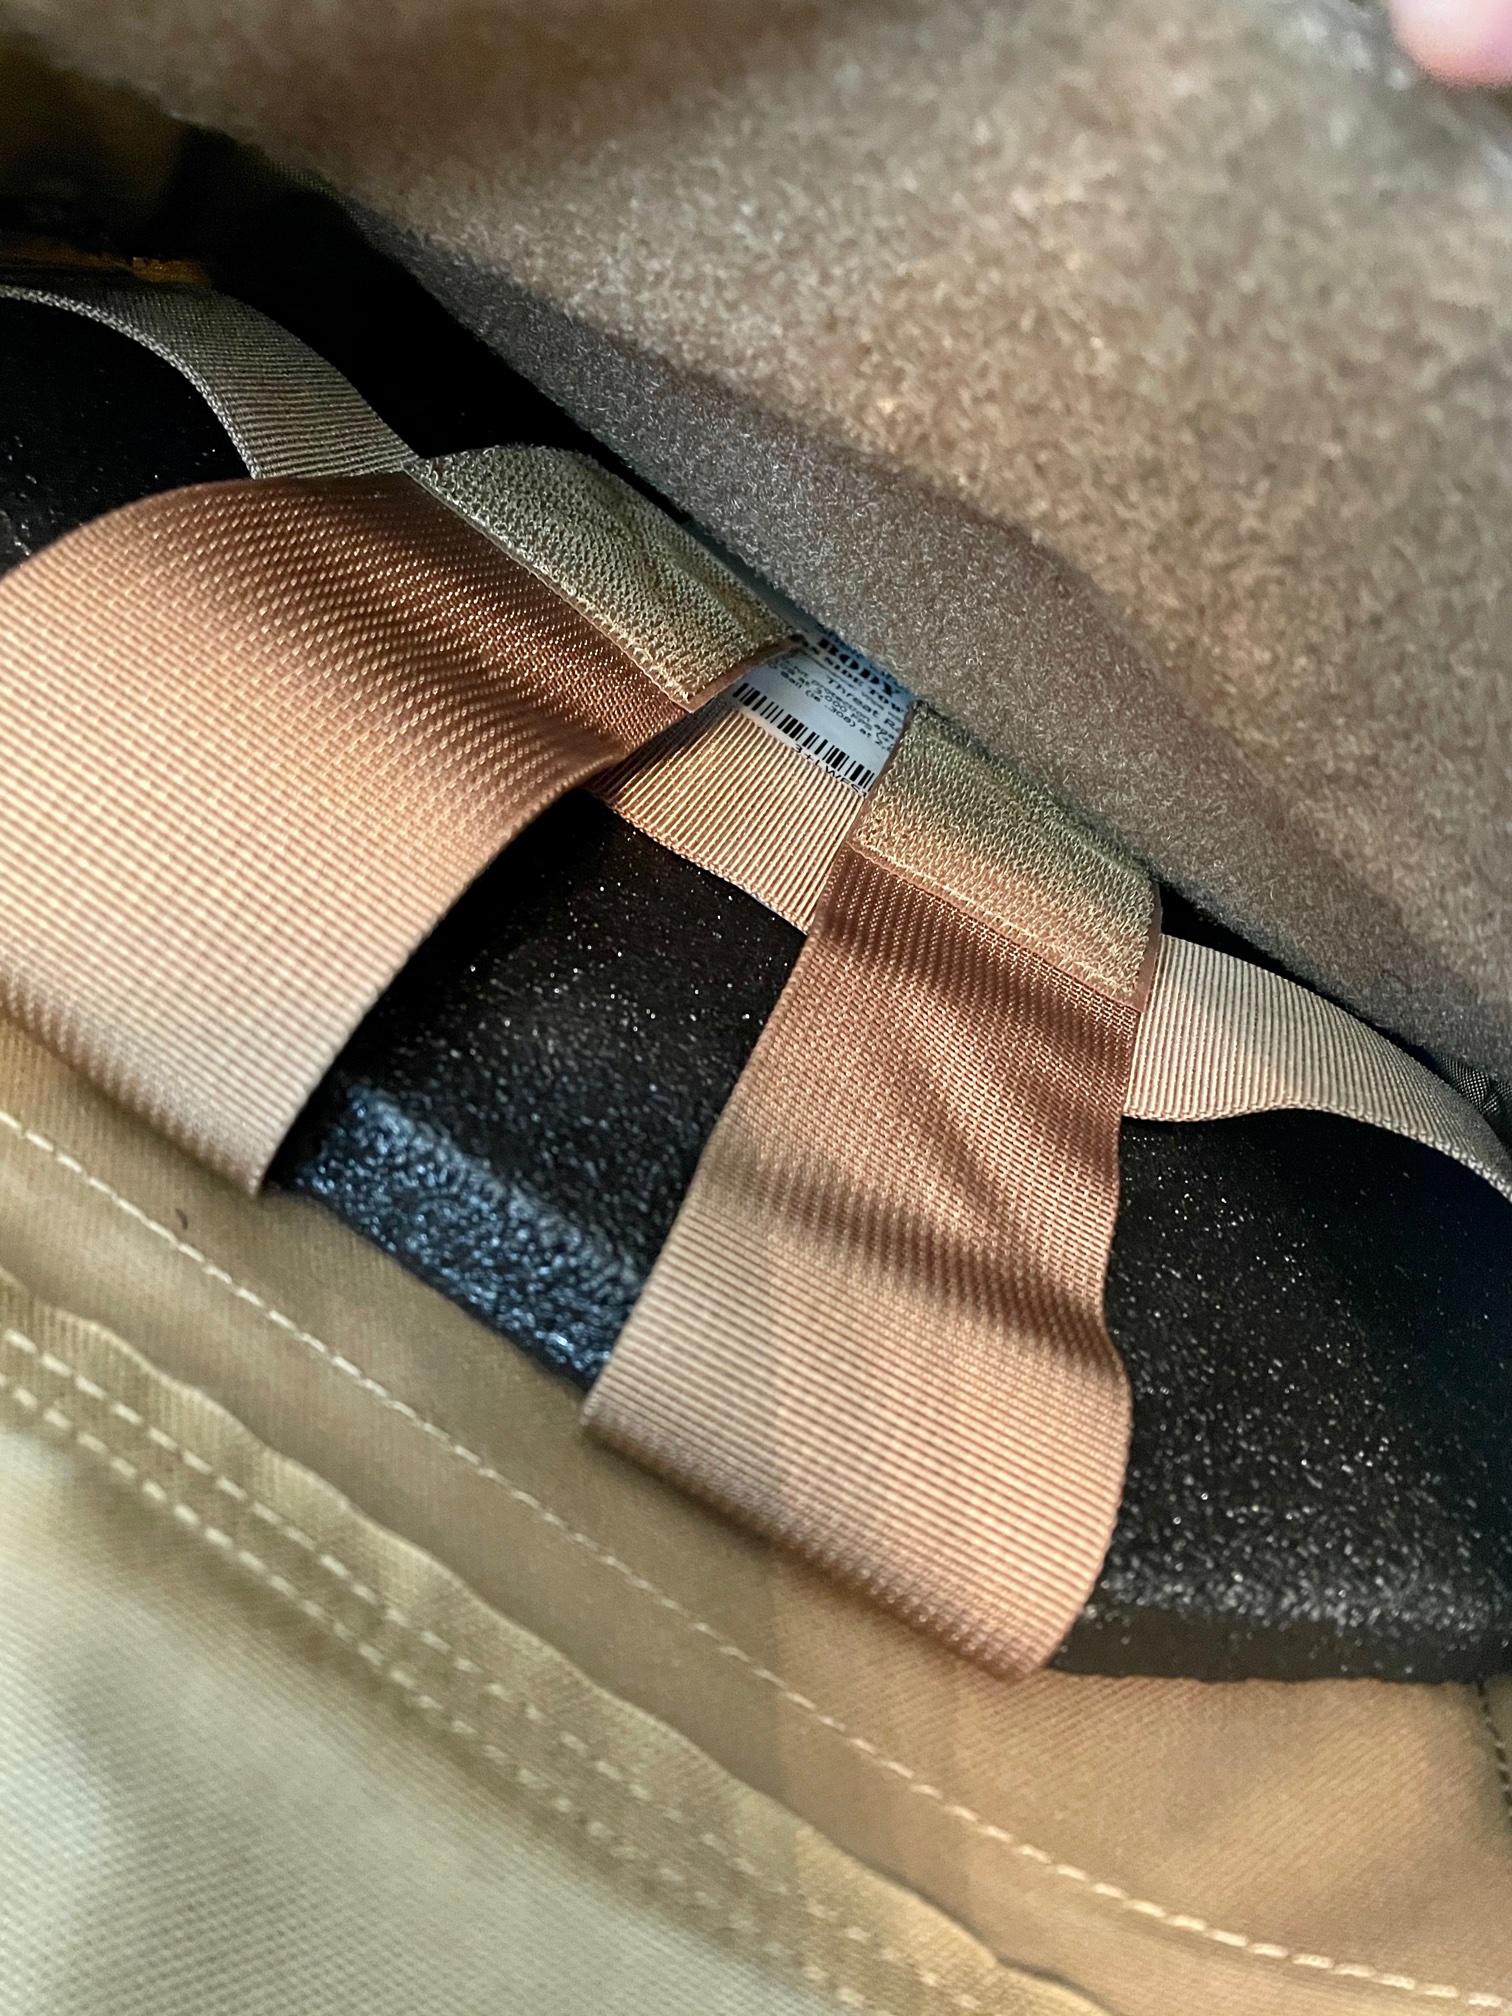
If you look in the plate pocket, you’ll see webbing going across the plate pocket, as well as two vertical straps that have Velcro on them. These are to secure the 10x12 plate in the larger pocket.
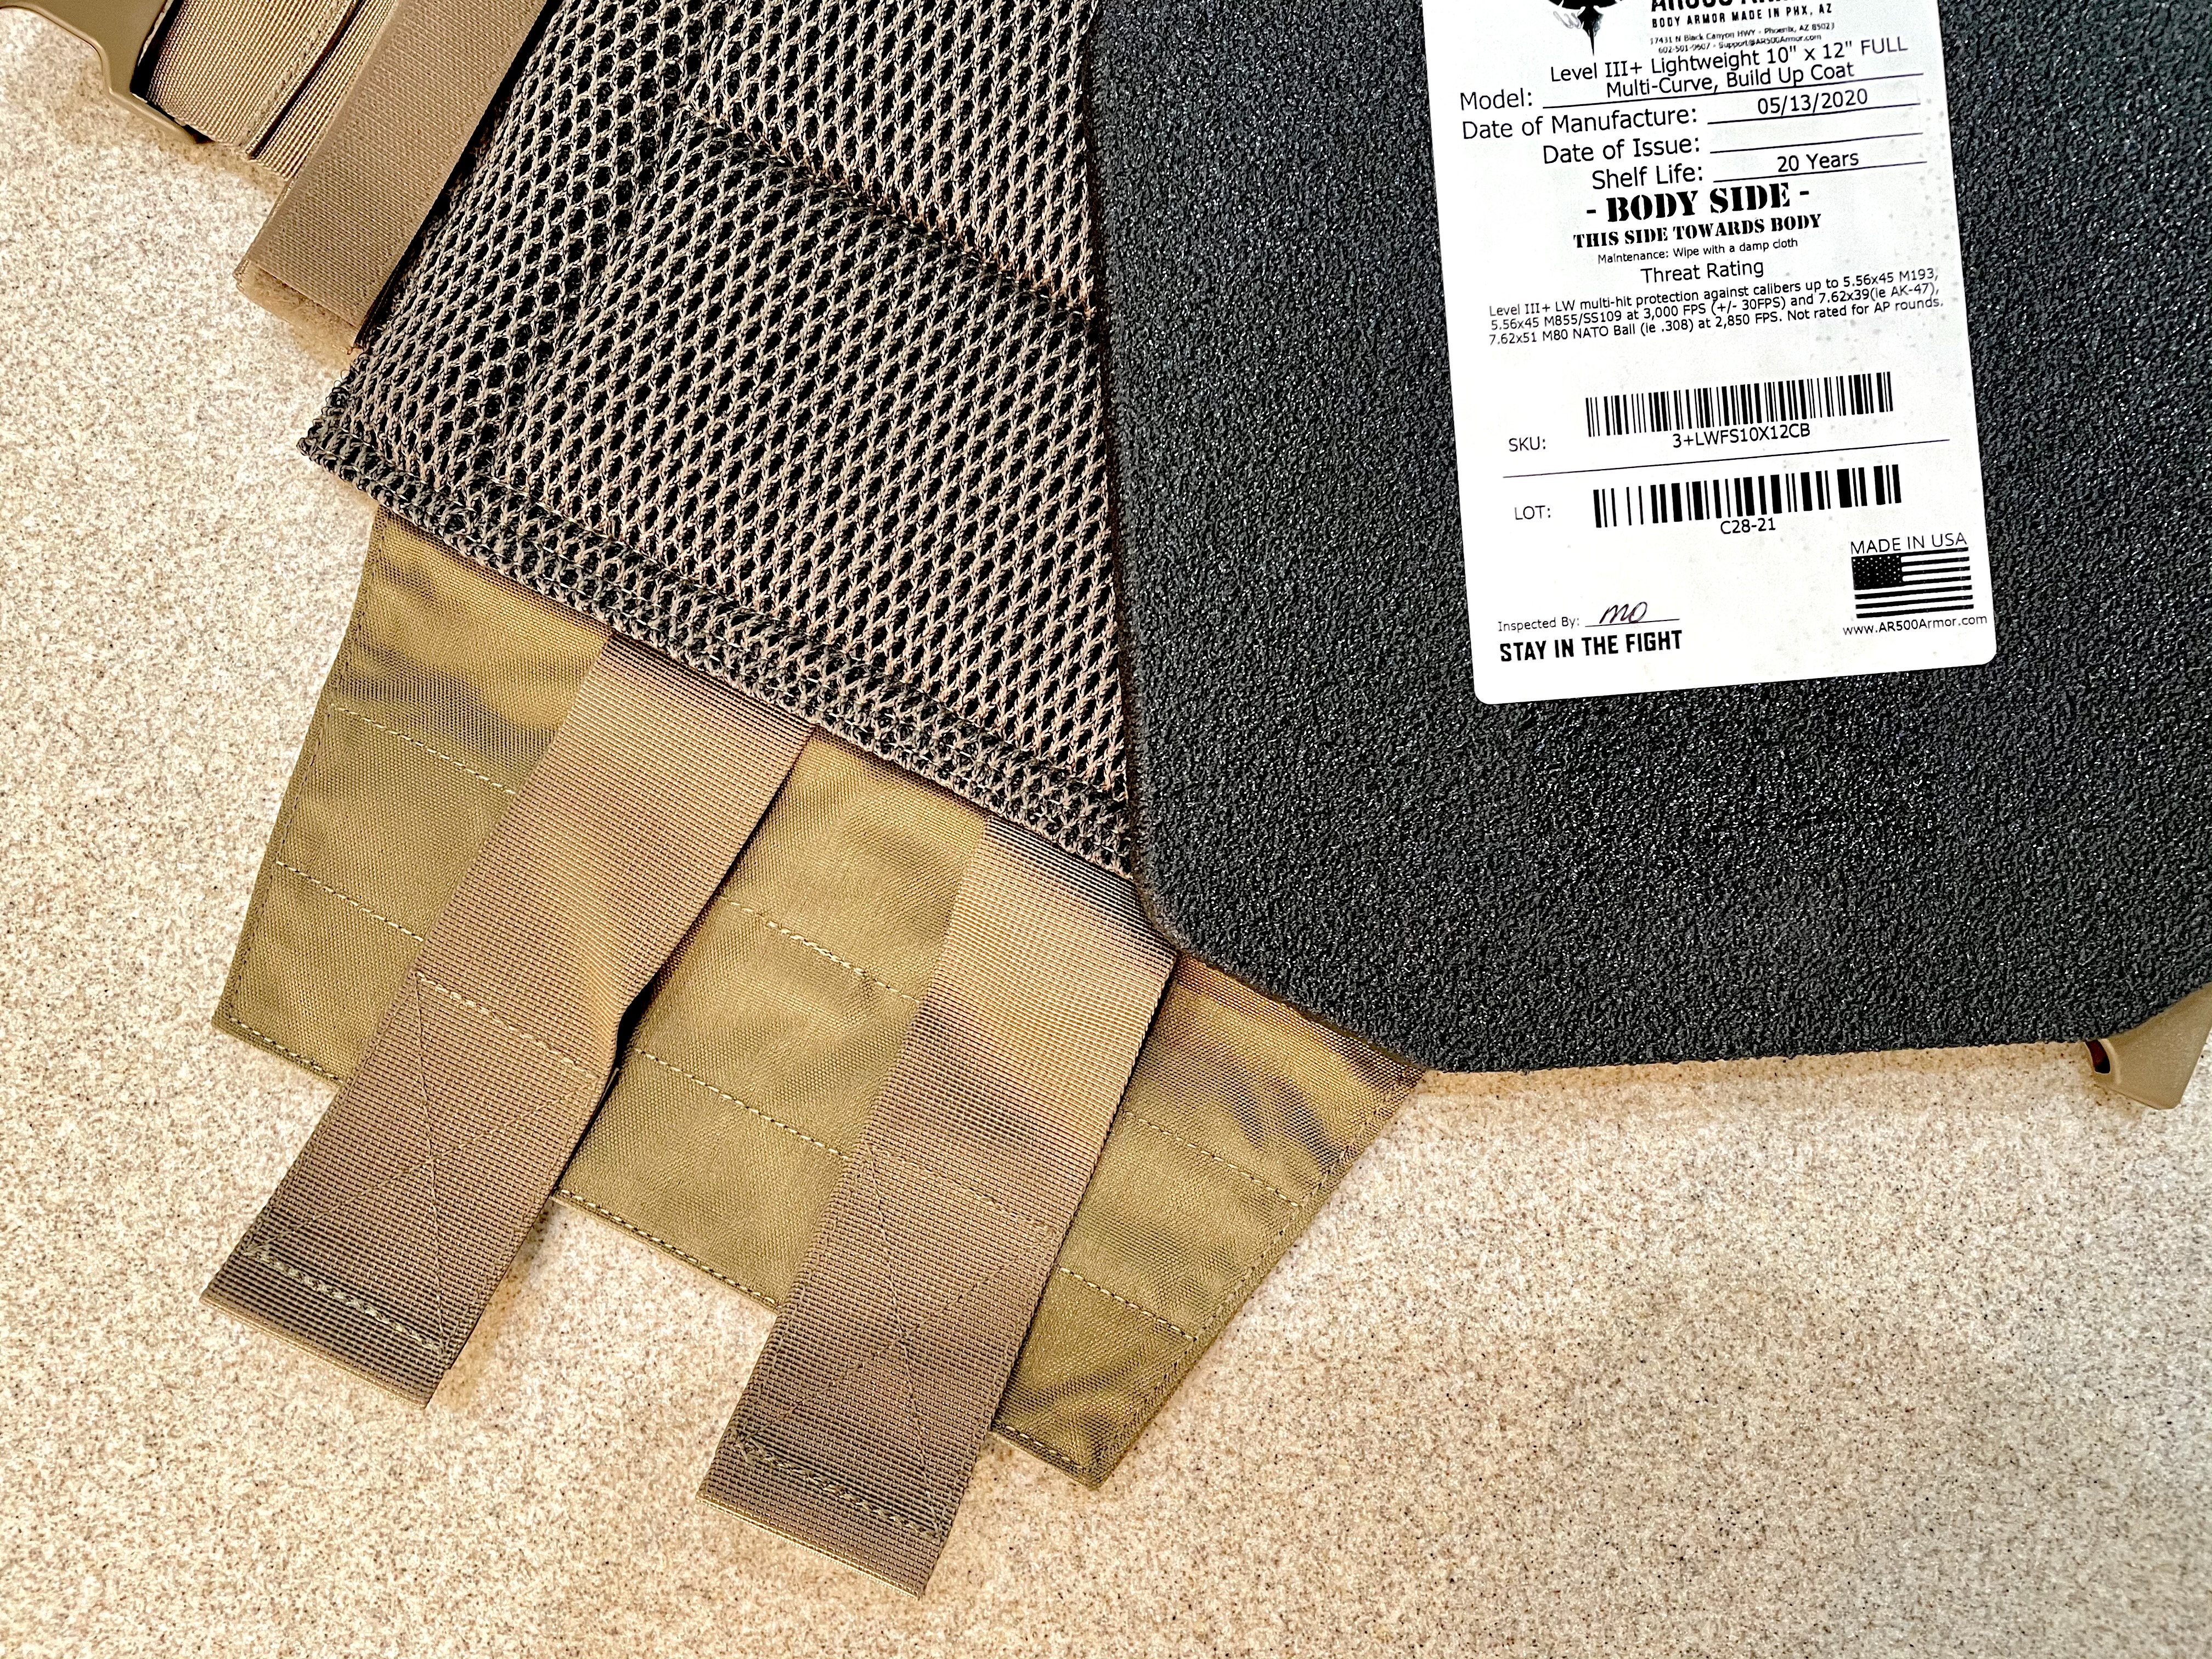
First, open the main plate pocket and pull out the two vertical retention straps, making sure they’re flat. Slide the 10x12 plate into the pocket between the retention cross-strap and the front of the plate carrier, ensuring the plate’s STRIKE FACE is facing away from the body-side of the carrier. When installed correctly, the cross strap would be behind the plate rear of the plate, between the user and the plate.
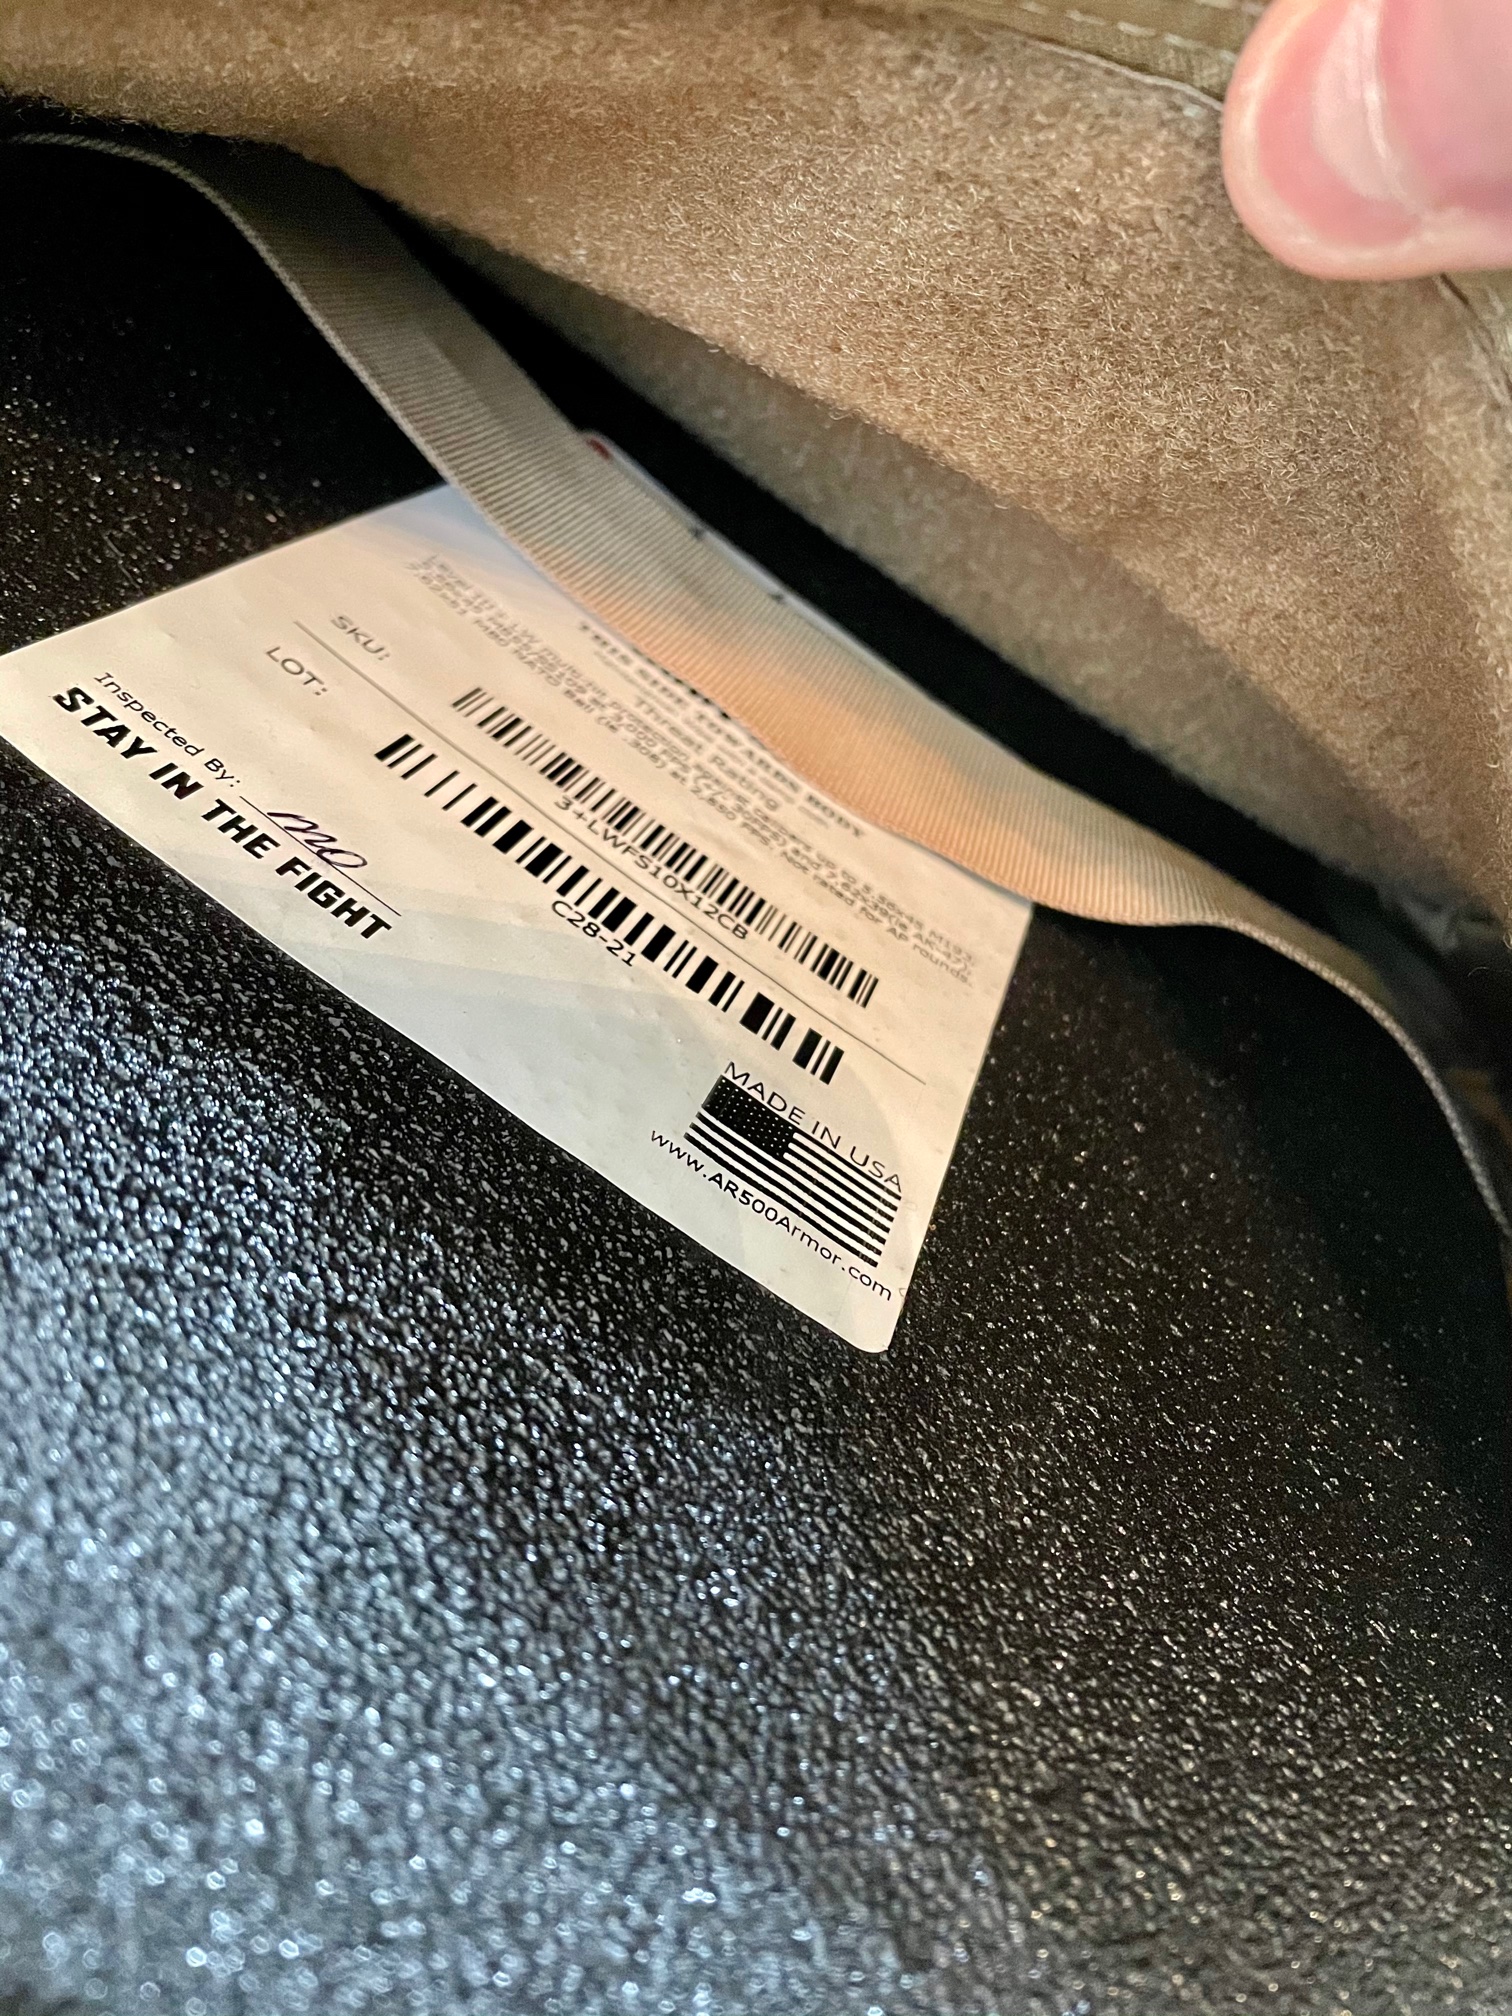
Next, take the two retention straps, wrap them over the bottom of the plate, then secure them to the velcro on the inside of the plate pocket. Once that’s done, secure the plate pocket flap, and you’re done.
The same process is used for the rear plate pocket, but note that the rear pocket does not have the cross-strap.
Installing 11x14” plates
If you’re using 11x14” plates, slide the plate behind the cross strap so that the strap is between the plate and the FRONT of the carrier. Tuck the vertical straps into the pocket, under the plate, then close the flap and you’re ready to go. The process for the rear plate pocket is the same.
IMPORTANT NOTE: When installing a plate either 10x12 or 11x14, into the testudo, make sure to pay attention to the horizontal strap in the front plate pocket. This strap tends to rotate and catch the upper lip of the plate when inserting it into the pocket, preventing the plate from seating all the way into the pocket.
To correct, simply remove the plate from the pocket, insert your hand into the pocket and lift the horizontal strap to clear the plate, then reinsert the plate. Once the plate is all the way seated, secure the two vertical straps over the lower lip portion of the plate, securing it in place, as described above.
If you have questions, just contact us
The Testudo is a versatile plate carrier capable of accommodating a variety of plate sizes. Ensuring your plates are installed correctly will minimize any plate movement within the pocket, and keep the plate covering what it’s supposed to cover.
If you have any questions about this or any of our other products, please contact us at support@ar500armor.com